KAPDEC® | Elite STEM Learning Platform | https://kapdec.com
Unit: Geometry
Chapter: Construction of Circles & Angles
Reference: – Introduction to Constructions, Tools of Construction (Ruler, Compass, Protractor), Construction of a Circle with a Given Radius, Construction of Concentric Circles, Construction of an Angle Equal to a Given Angle, Construction of Angle Bisector, Construction of Standard Angles (60°, 30°, 90°, 120°, 45°), Tips for Accurate Construction
After studying this chapter, you should be able to understand:
- Introduction to Geometrical Constructions & Tools
- Construction of a Circle with a Given Radius
- Construction of Concentric Circles
- Construction of an Angle Equal to a Given Angle
- Construction of Angle Bisector
- Construction of Standard Angles (60°, 30°, 90°, 120°, 45°)
- Tips for Accurate Construction
Practical Geometry, Construction of Circle
Introduction
In this chapter, we will learn how to make different shapes. We need to use certain tools to make these shapes.
Tools:
Ruler: It is used to measure and draw the line segments.
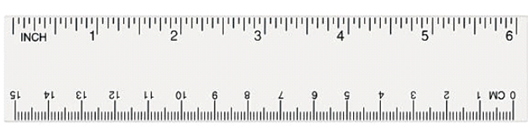
Source: Kapdec.com
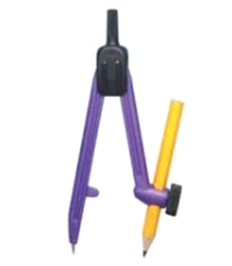
Compass: It is used to draw circles and arcs. The tool is not used to measure equal length. Instead it is used to mark off them.
Source: Kapdec.com
It has pencil at one end and pointer at the other..
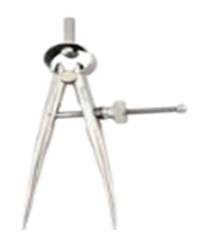
Divider: The tool is used to compare line segments or lengths. It has a pointer at both it’s ends.
Source: Kapdec.com
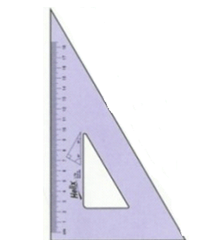
Set Squares: This tool is used to draw parallel lines and perpendiculars. These are two triangular pieces. One with 90-45-45 degree angles and the other with 30-60-90 degree angles.
Source: Kapdec.com
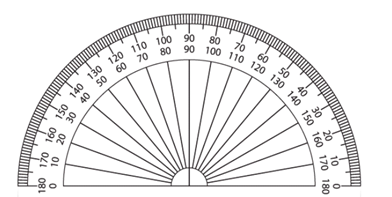
The Protractor: This tool is used to measure and draw angles. It is a semicircular tool which is divided into two parts. It has two markings. One starts with 0° on the right side and 180° on the left side and vice versa.
Source: Kapdec.com
In this chapter we are going to use compasses and rulers to do the constructions.
Some tips:
- Draw or construct thin lines.
- Mark points of lines lightly.
- Instruments should have fine edges and sharp tip.
- Keep two pencils. One will be inserted in compass. Other will be used to mark points, draw lines or curves.
Construct a circle
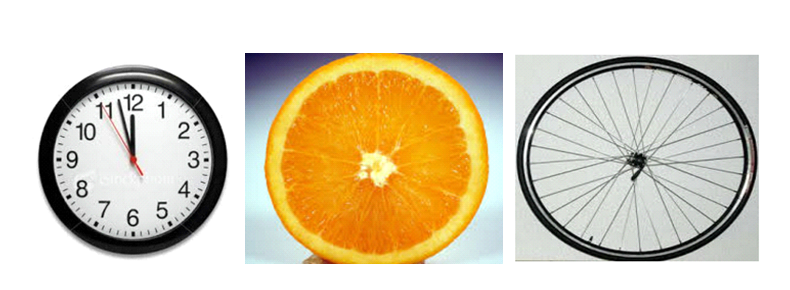
See the following figures:
Source: Kapdec.com
In each of the figure, every point on the boundary is at equal distance from the centre. This is called a circle.
Construct a circle when radius of circle is known
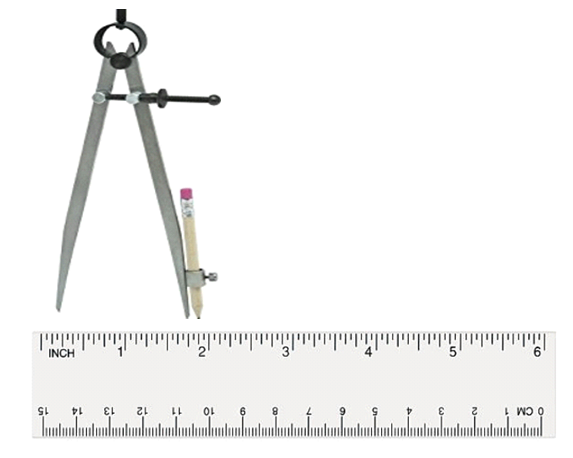
Let’s draw a circle of radius 4 cm
Following are the steps:
Step 1: Take a compass and open it for the radius of 4cms
Source: Kapdec.com
Step 2: Use sharp pencil and mark a point. The centre of circle is named as O
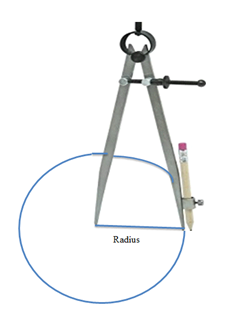
Step 3: Put the pointer of compass at centre or O
Step 4: Turn the compass to draw the complete circle at one instant.
Source: Kapdec.com
